Looking to add dynamic features to your Webflow site without complex coding? Embedding widgets might be just the solution you need. Whether it's weather forecasts, countdown timers, or like buttons, widgets enhance functionality and user engagement.
This guide walks through embedding widgets into Webflow sites, covering basics, popular options, and step-by-step instructions.
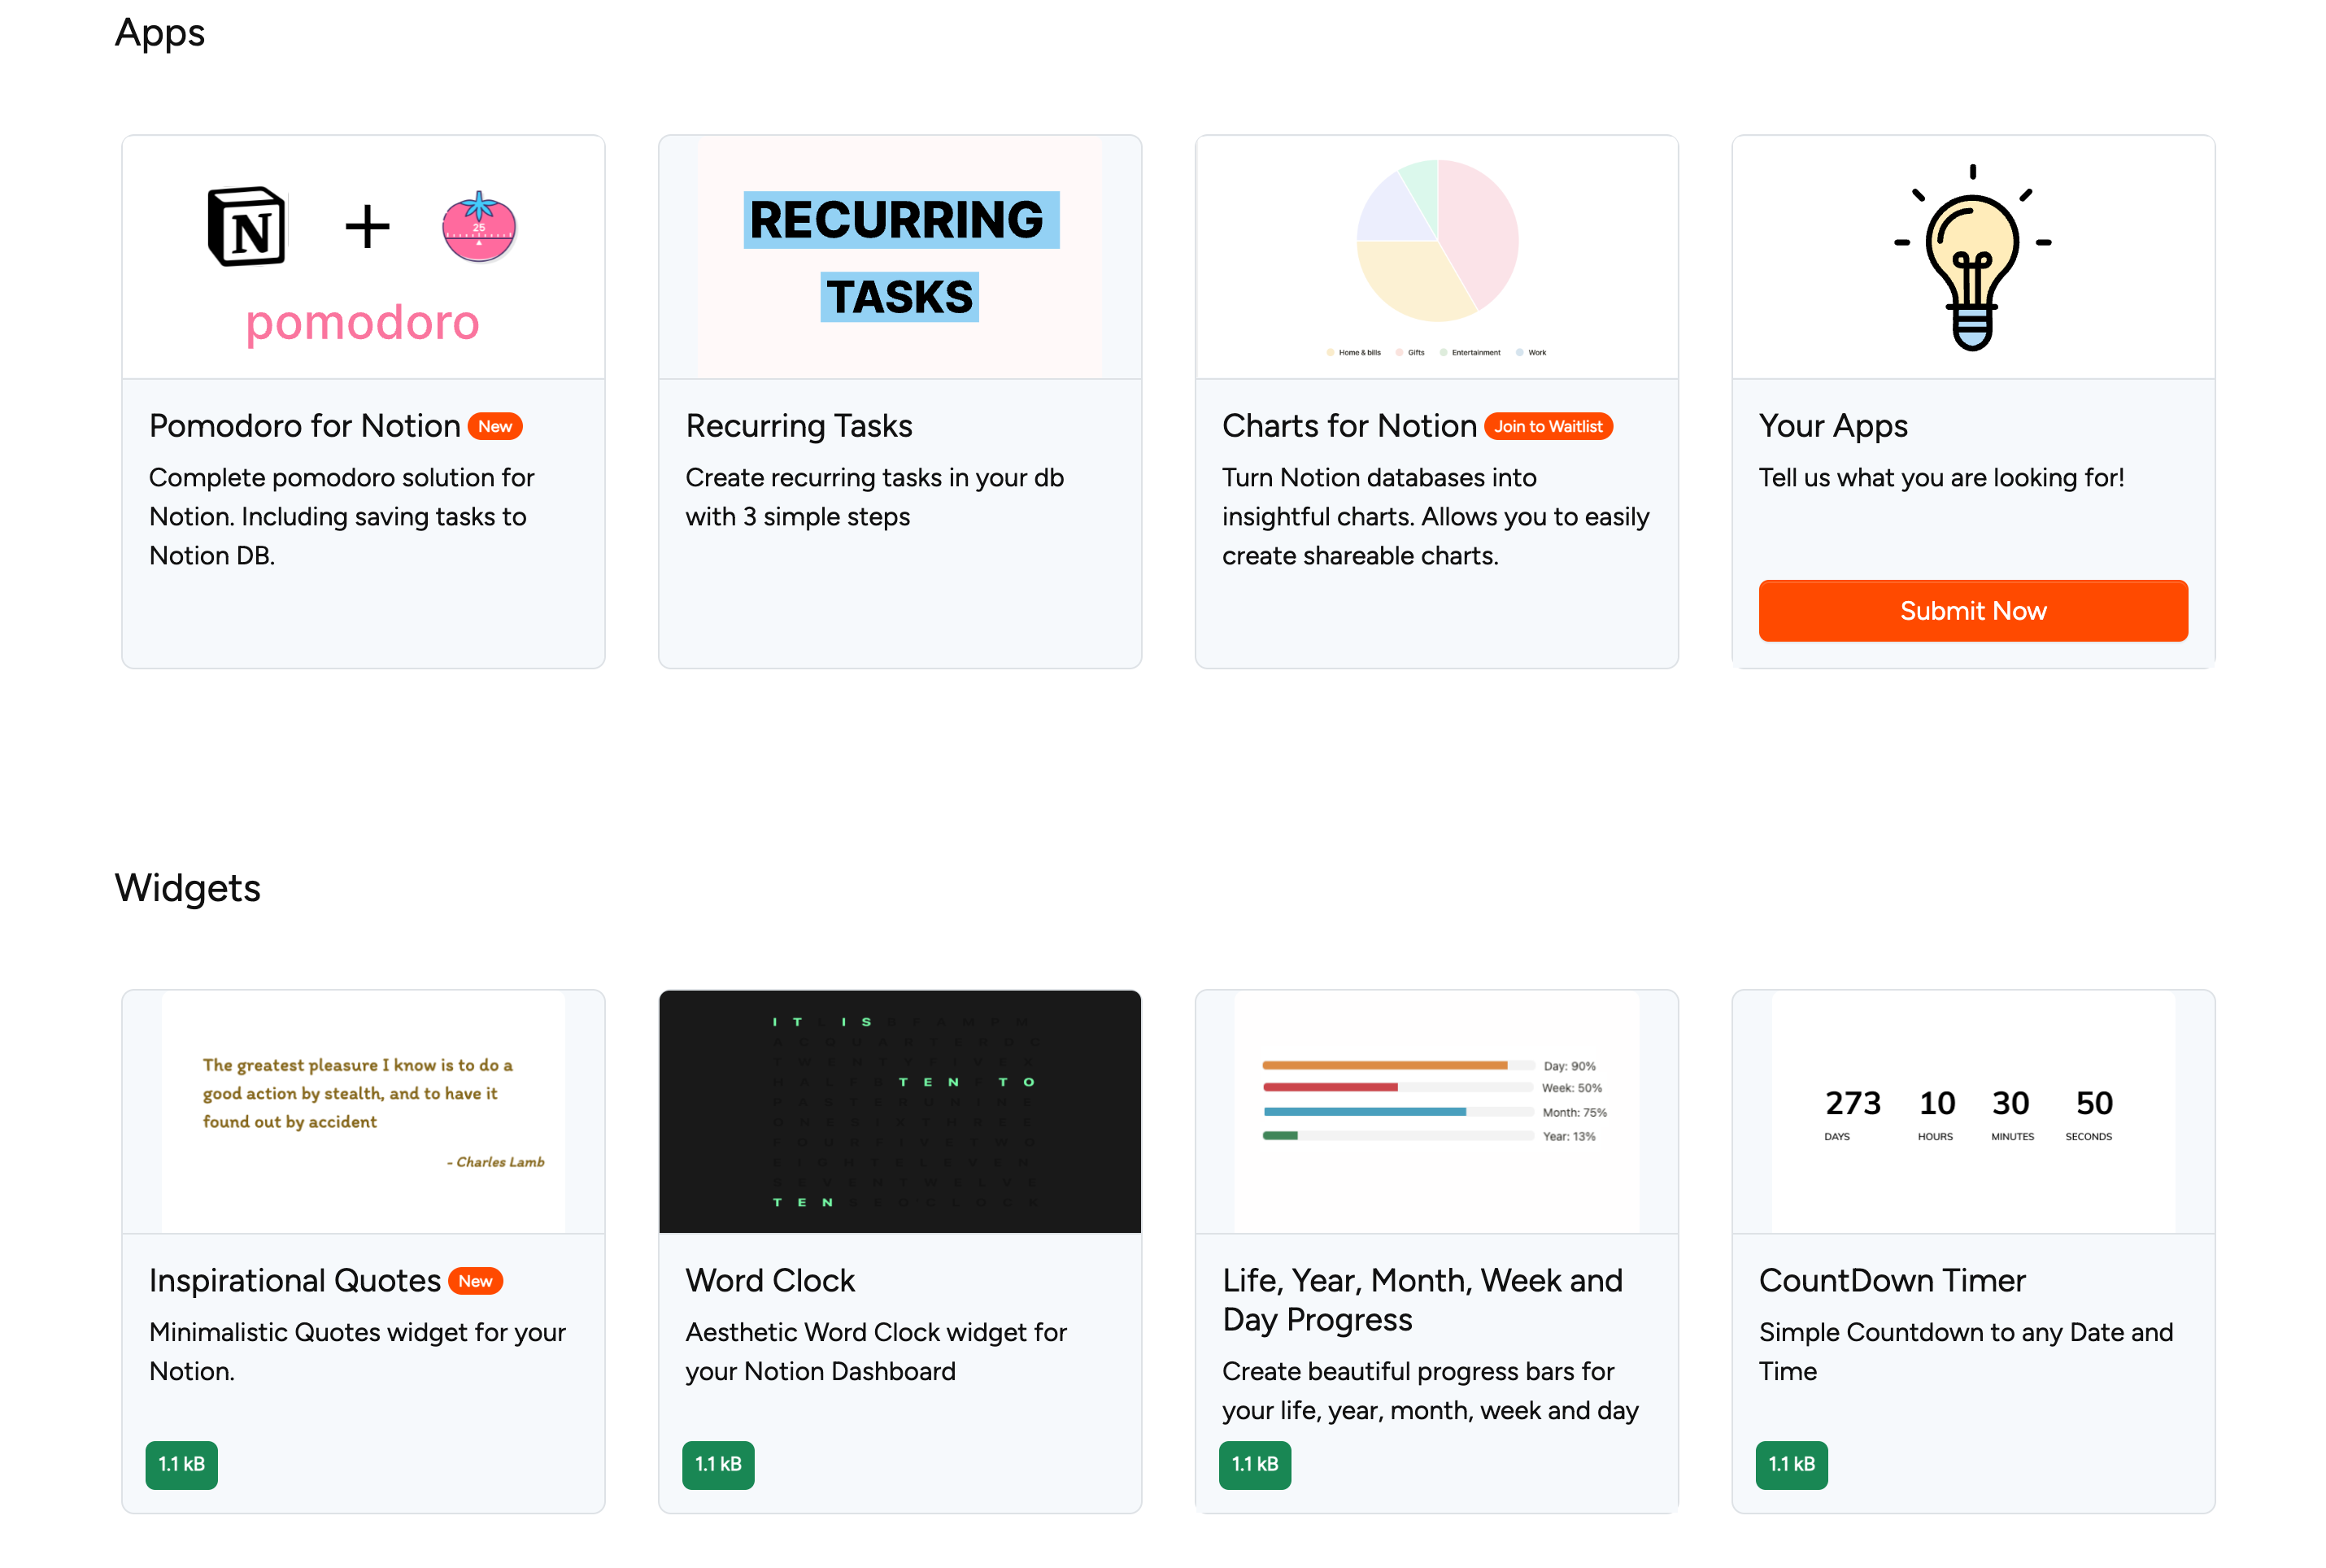
Step 1: Select one widget or app
- Go to the home page with available widgets and apps
- Select a widget or app from the list
- In this example, the countdown timer widget is selected
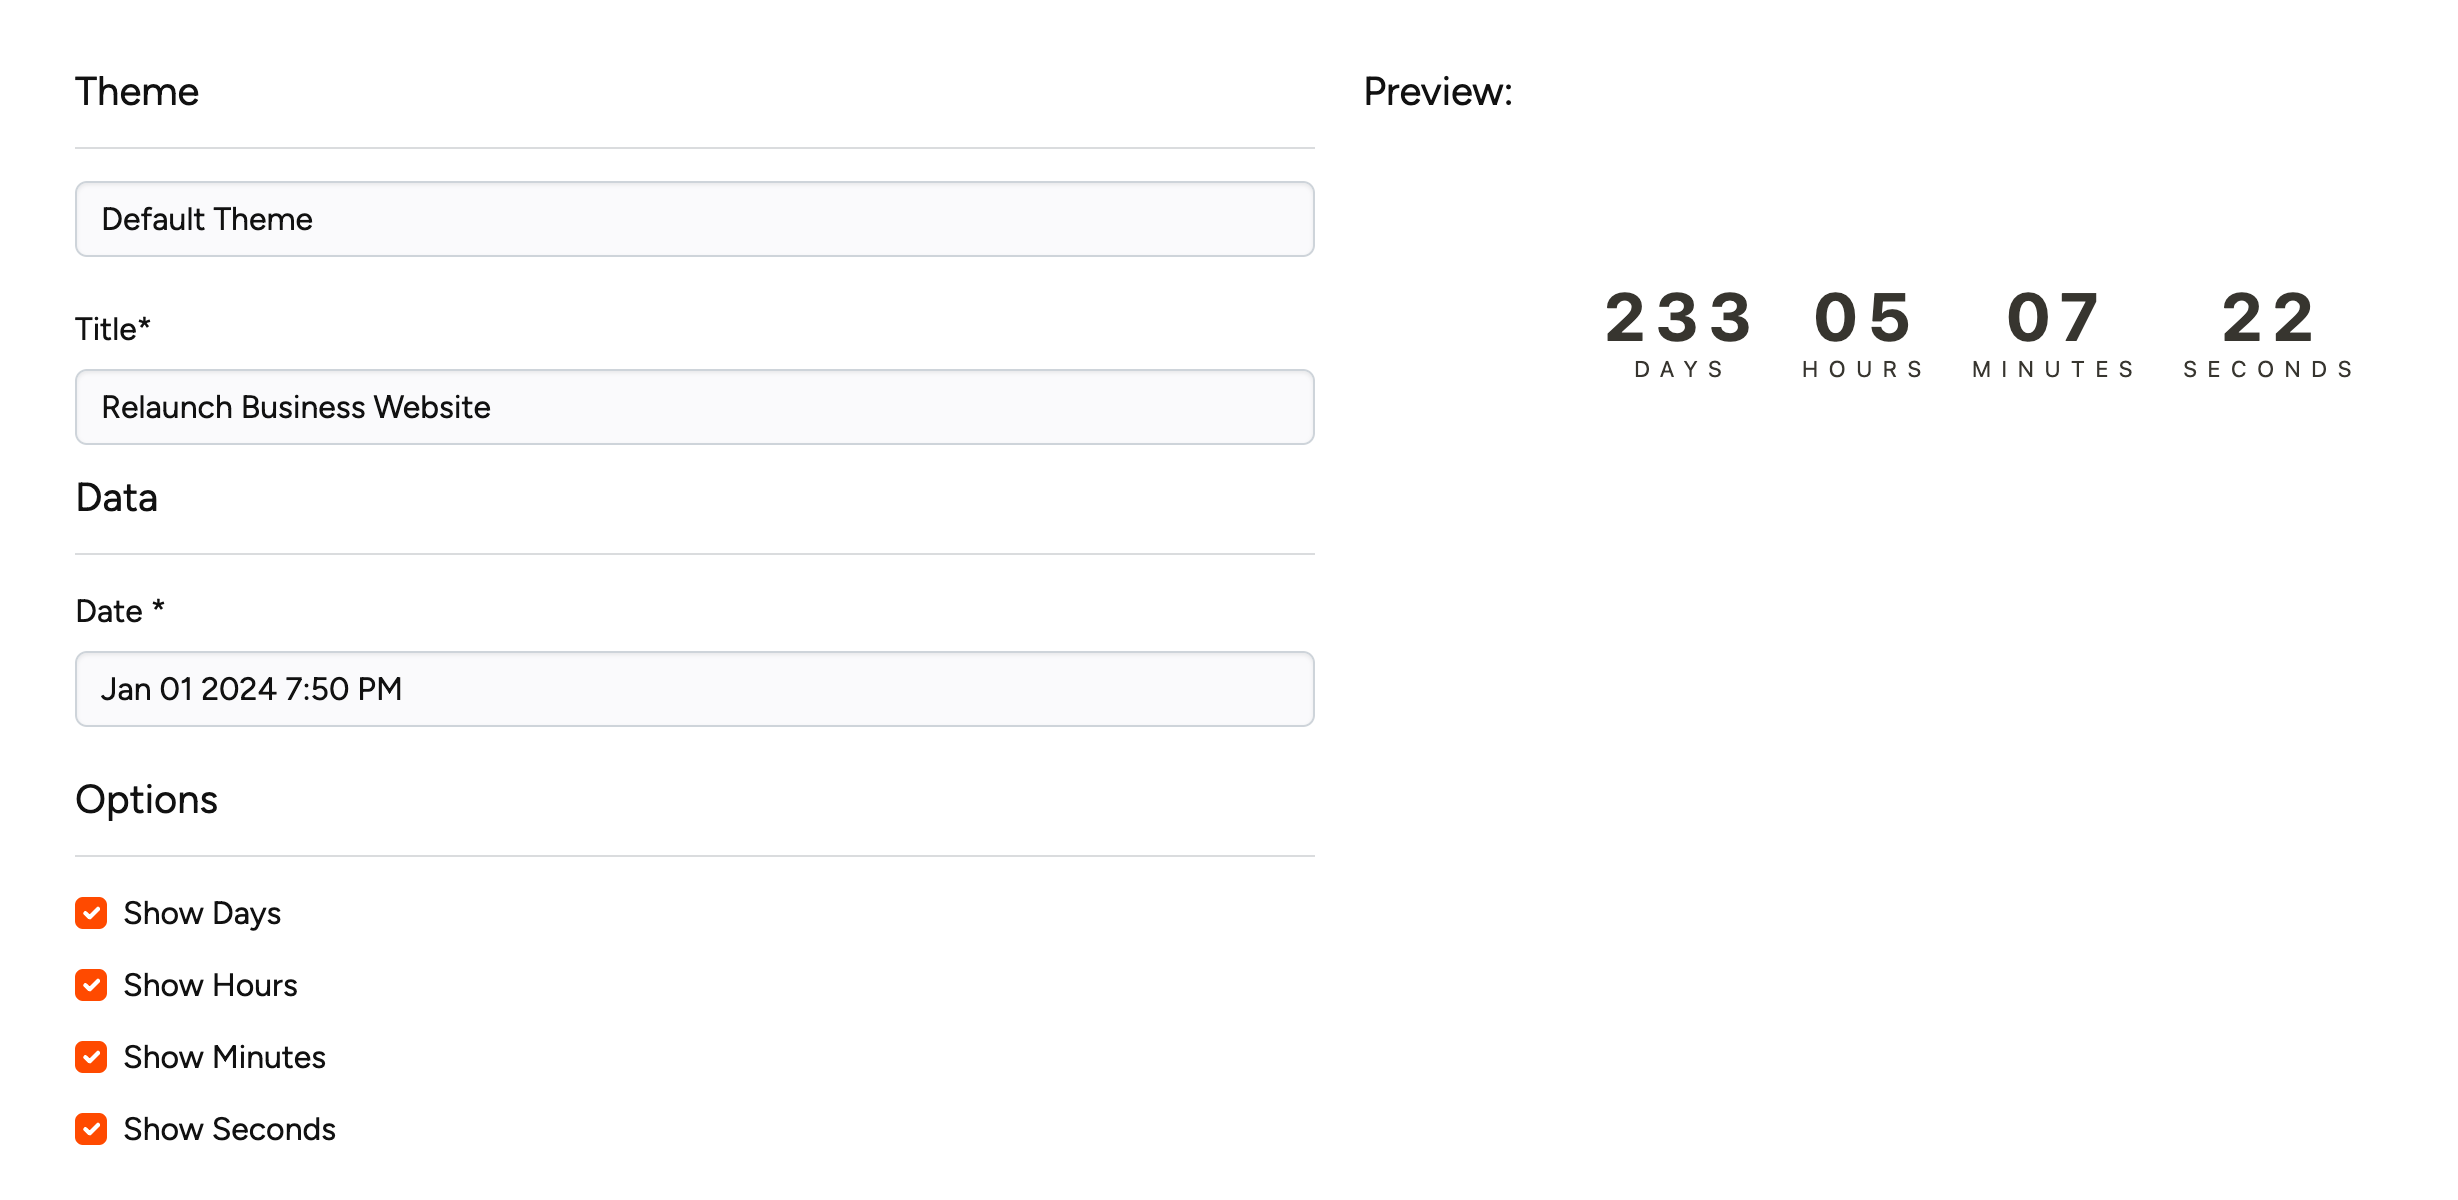
Step 2: Customize your selected widget
- Scroll to the customizing area
- Make changes to your widget settings
- Once you are happy with the settings you just have to press the "create widget" button and the widget will be created for you.
Note: Depending on your plan, you may not be able to create widgets and will see an error message.
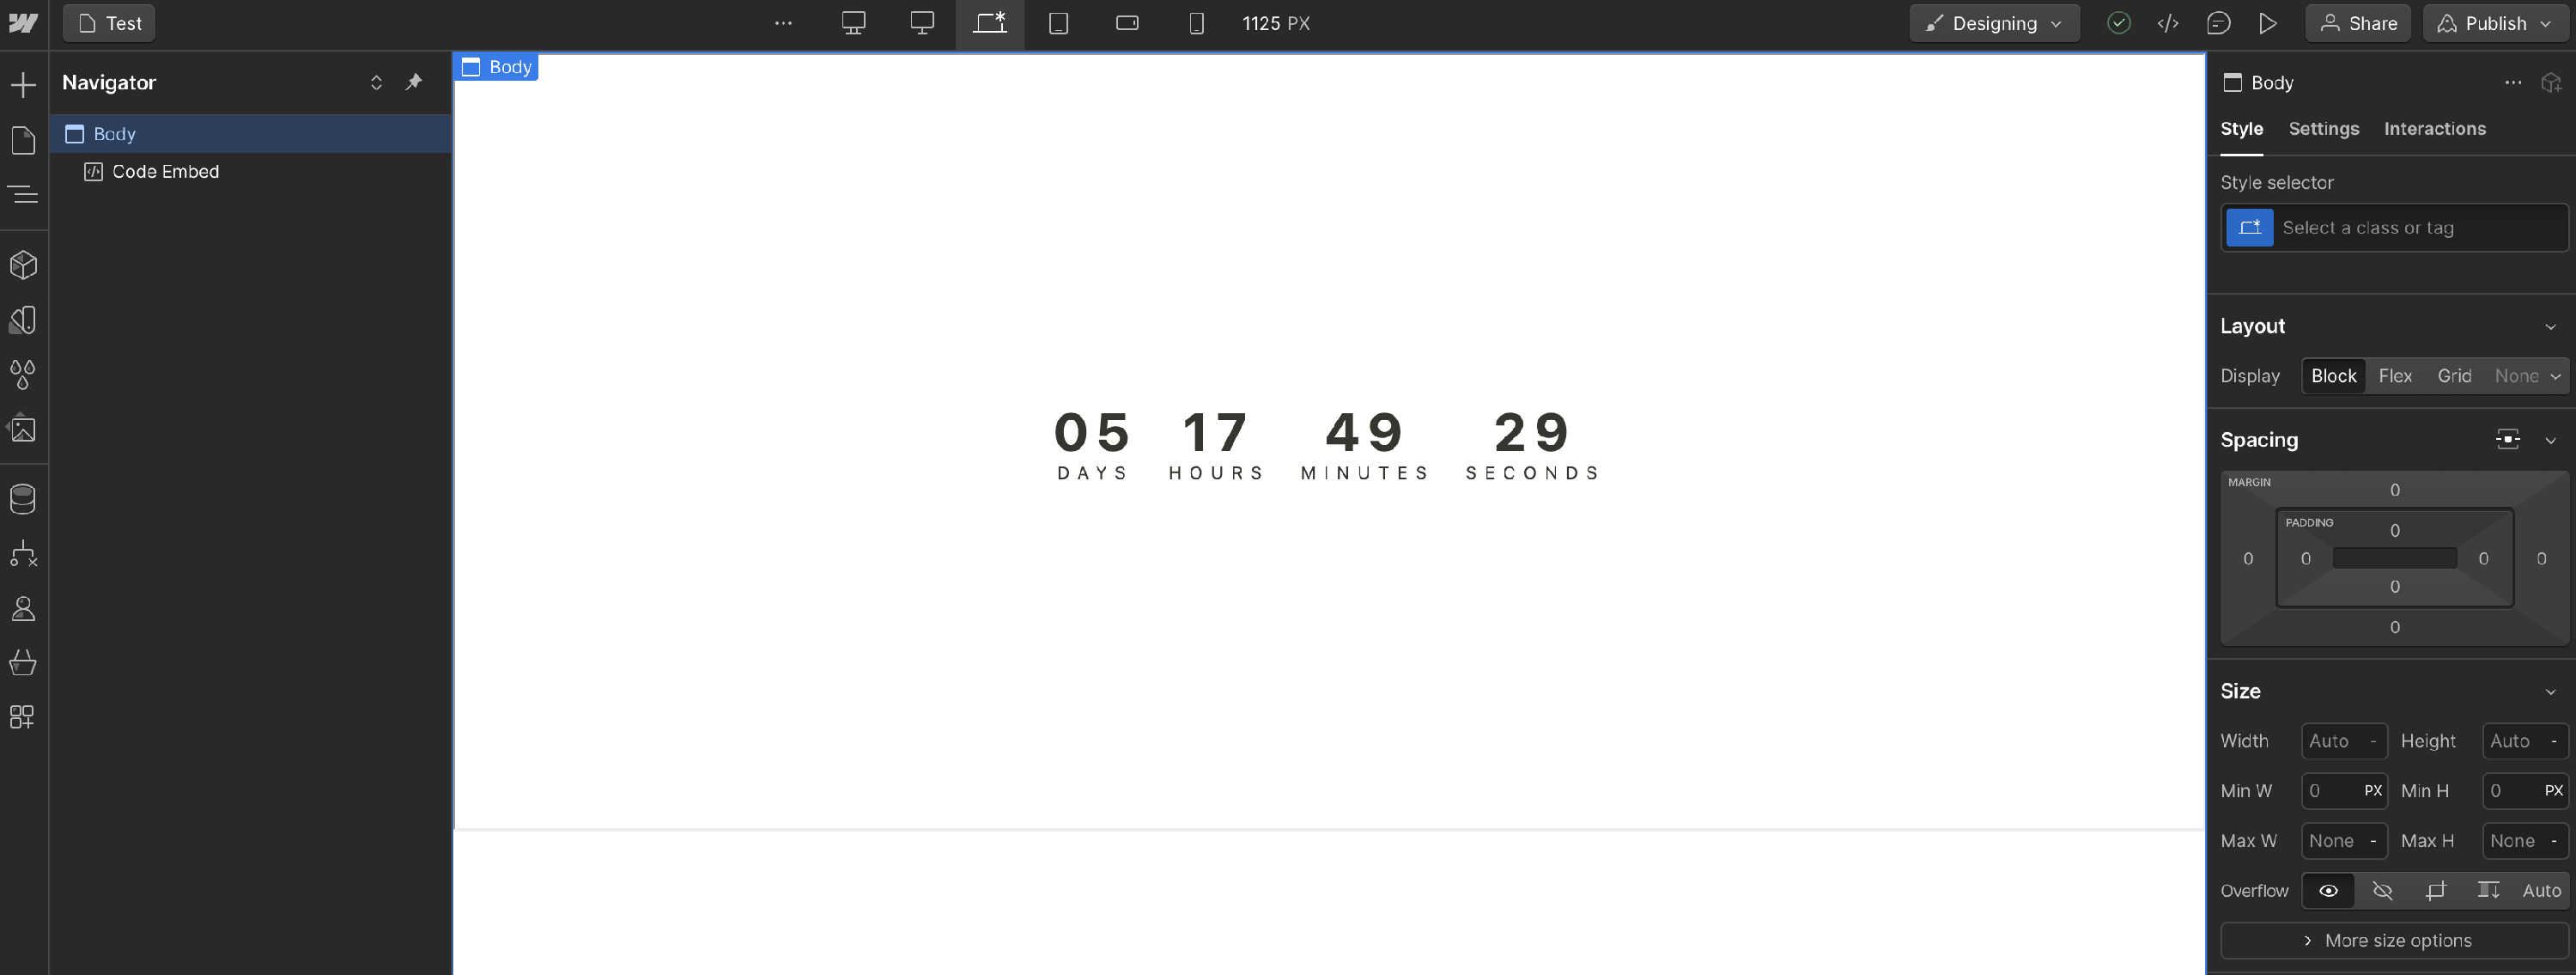
Step 3: Embed widget in your Webflow website
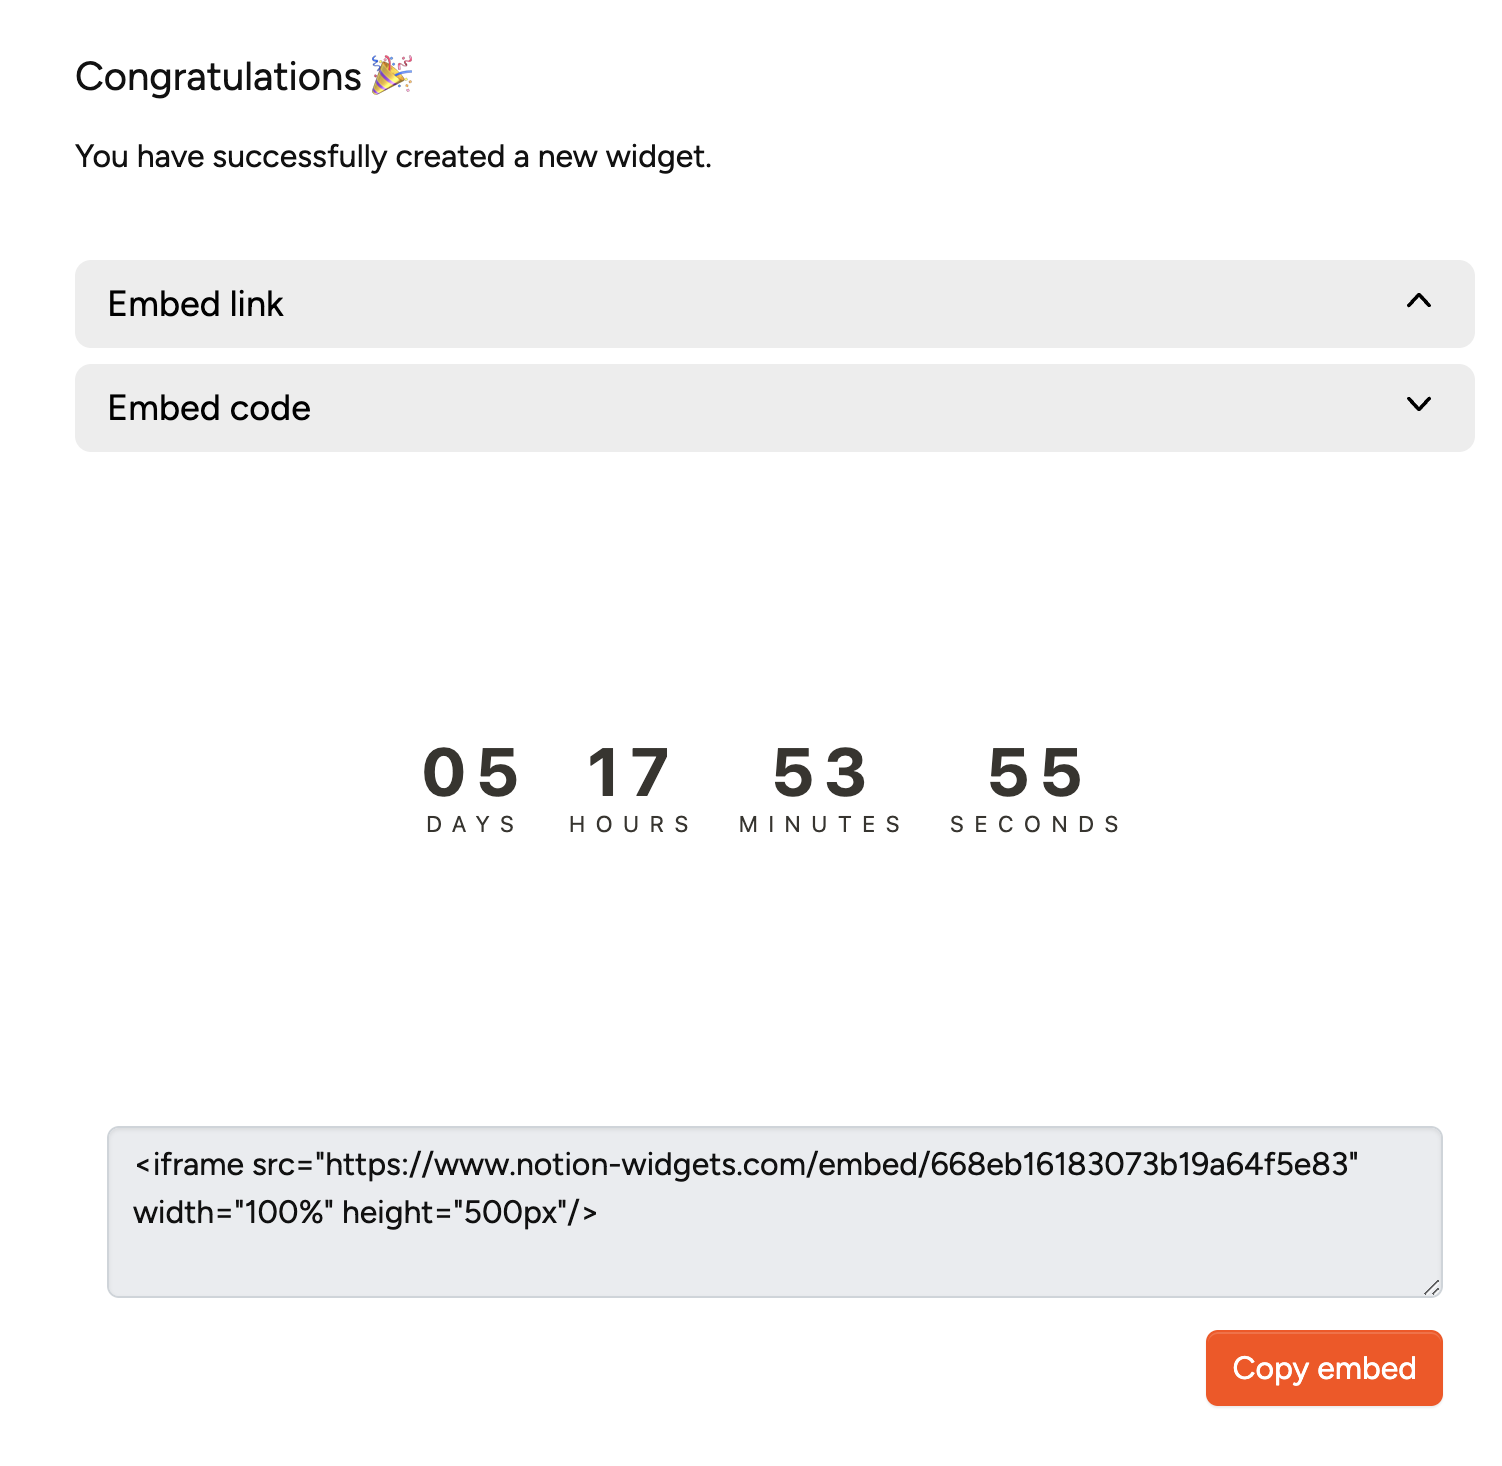
After creating the widget, you can click on copy embed button. This is going to store the embed in your clipboard.
- Go to Webflow and drag an Embed element into your design
- Paste the code snippet into the HTML Embed Code Editor
- Click
Save & close - Click
Publish→Publish to Selected Domainsand review the result