This guide explains how to build and integrate a todo list into your Notion page.
Step 1: Setup your todo list widget
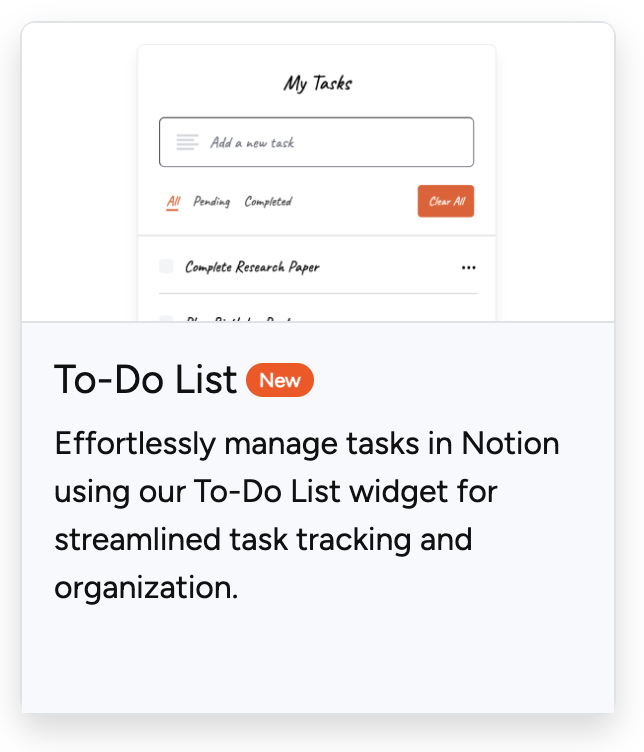
Navigate to the Widgets menu to find available widget options. Select the "To-Do list" card to begin customization.

Customizable Properties
| Property | Description |
|---|---|
| Title | Name your to-do list to identify task categories |
| Show title | Toggle to display/hide the title above the list |
| Show clear all button | Enable to allow users to delete all tasks at once |
| Show border | Toggle border visibility around the widget |
| Background | Configure the to-do list background color |
| Border color | Set the border color (requires "show border" enabled) |
| Border size | Adjust stroke thickness around the widget |
| Round Style | Choose from three corner rounding options |
| Font Family | Select typeface for the widget text |
| Font color | Define text color throughout the list |
Step 2: Define your to-do tasks
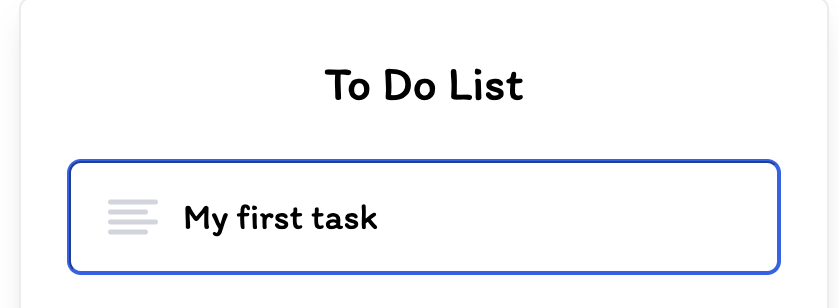
After customizing appearance, add tasks by typing task names and pressing Enter. The widget includes sample tasks you can delete and replace.
Key actions:
- Type task name in the input field
- Press Enter to add each task to the list
- Click the create button once all tasks are entered
- Tasks can be added or removed after embedding in Notion
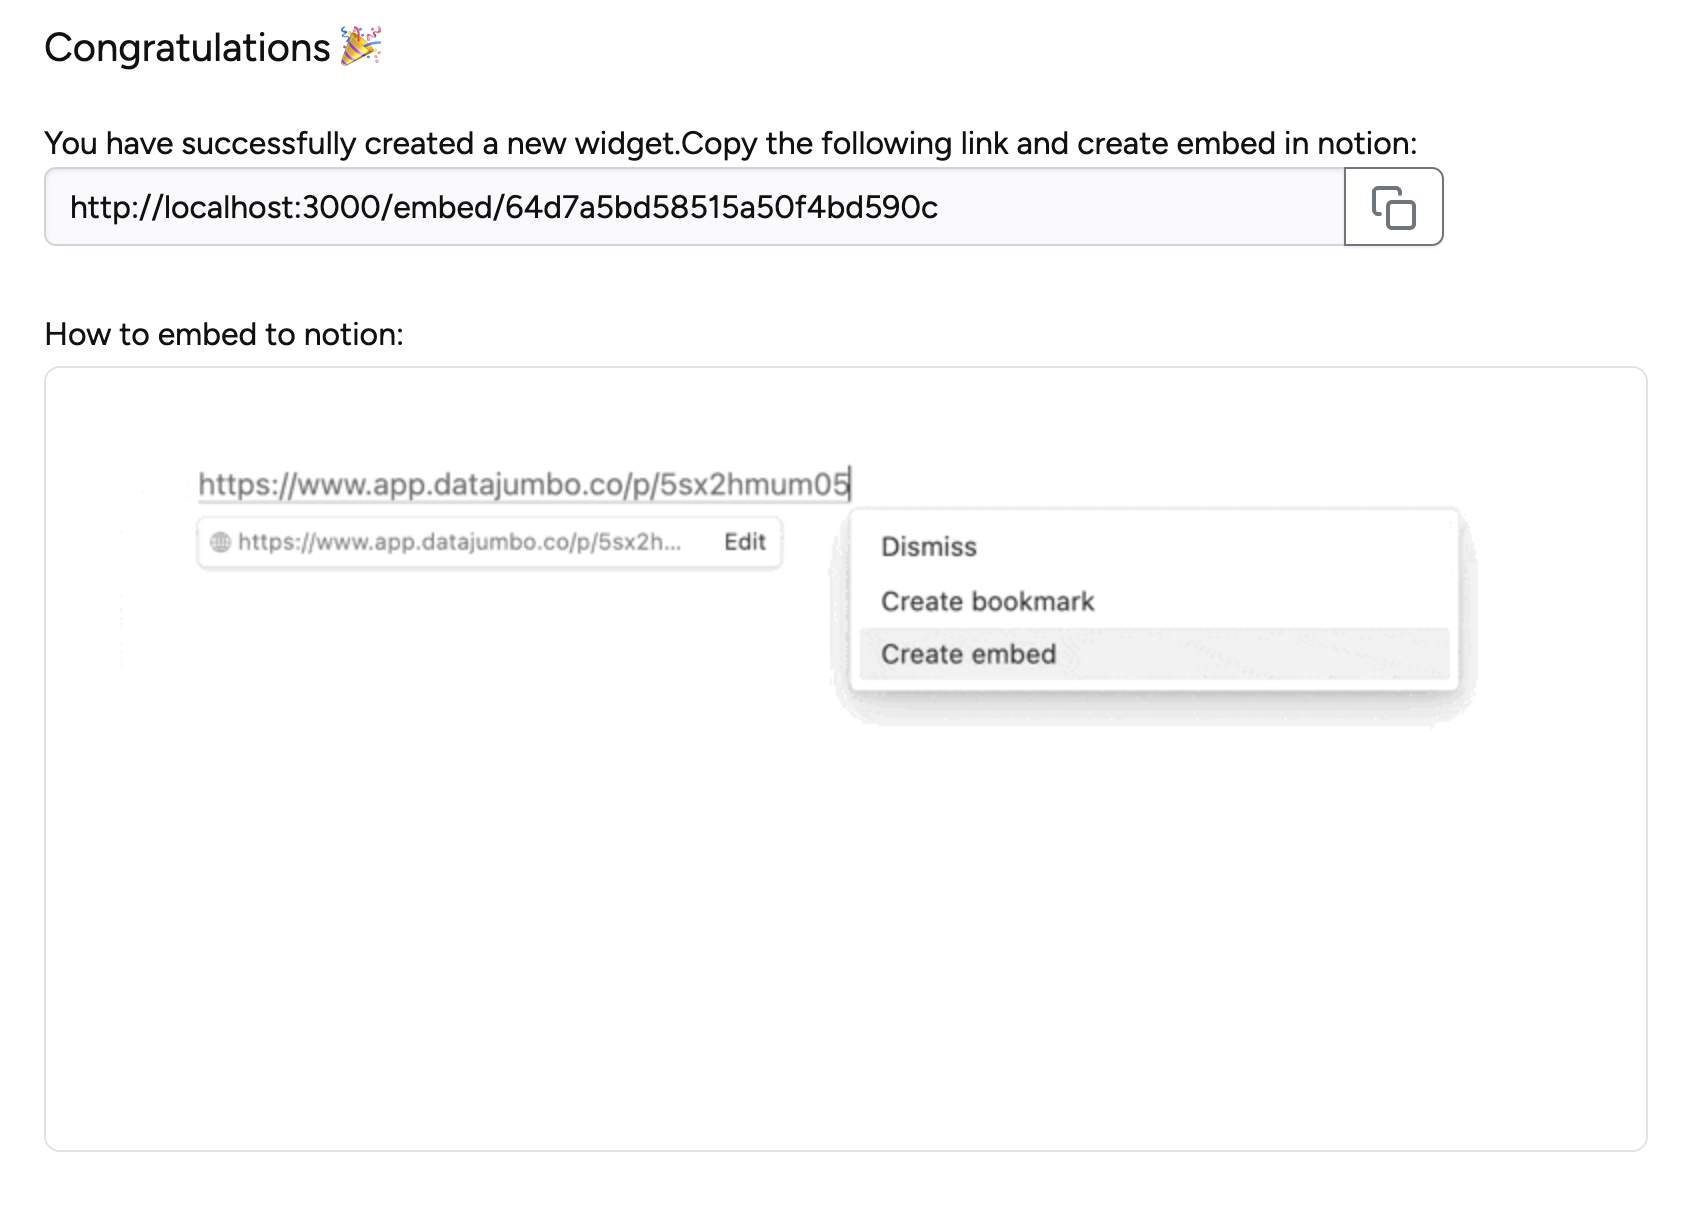
Once successfully created, copy the widget link to embed on your Notion page.